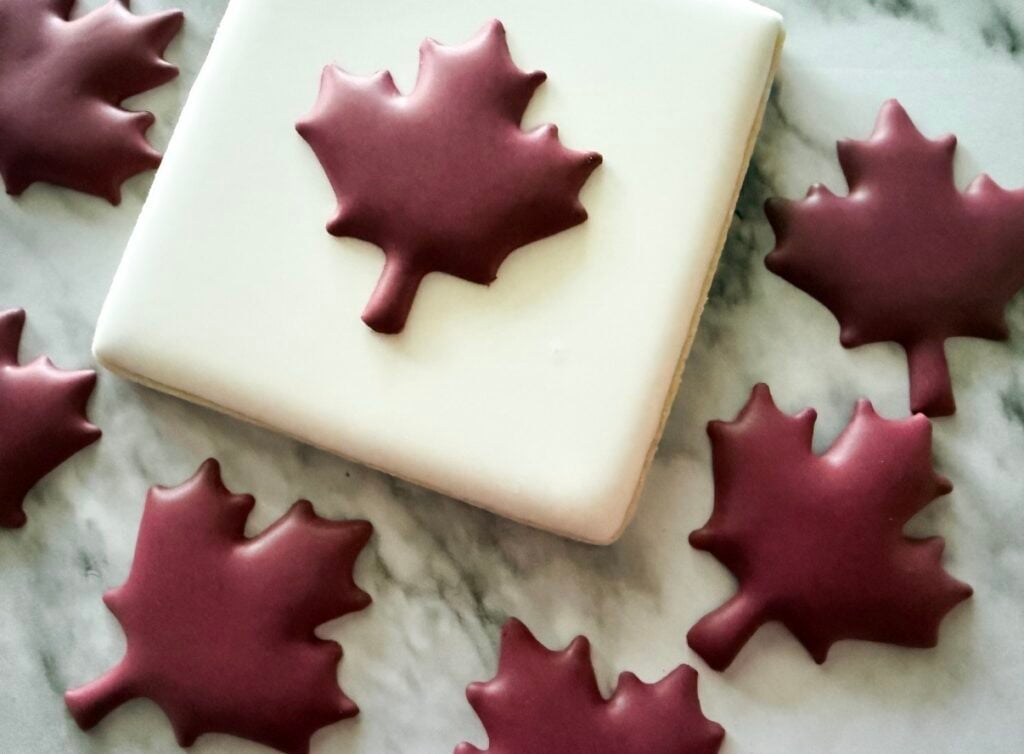
Hey Bestie! If you’ve been here before, you know we make a lot of royal icing transfers around here. And one of the most frequently asked questions I receive is, “What is the best surface for piping transfers?” So we are breaking it all down today, comparing different surfaces based on convenience, clarity, dry times and overall transfer results. I love cookie and icing research, I’m a nerd like that, and the results were so interesting! I’m actually converting to a new transfer surface myself, so read on to see what we learned!
Royal Icing Transfers 101
If royal icing transfers are completely new to you, let me give you a quick intro. I like to think of making royal icing transfers as like a coloring book with icing. Transfer sheets provide a design template that you can use to trace over with royal icing. Transfers are simply design elements – flowers, letters, shapes, and other designs, made from royal icing. They are basically a giant sprinkle that you make and add to your cookies. They can be the centerpiece of a design, an added detail or accents…the options are literally endless.
Cookie decorators, even the best ones in the world, use transfers as a common decorating method or tool. They offer a low-pressure way to create design elements without any risk of messing up a cookie. This can be very appealing for a number of reasons, but especially for newer decorators learning the craft. Learning consistencies and piping can be much easier while making transfers versus going through actual cookies. And being able to make as many transfers as you want and use your favorites, is something many cookiers love.
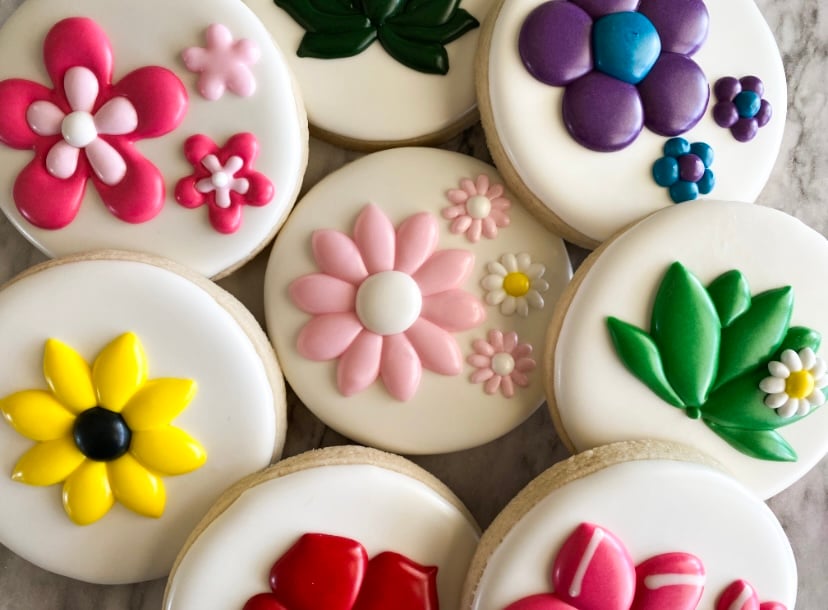
If you’d like to learn more about the benefits of using royal icing transfers, THIS tutorial is a more thorough introduction. And to give you a visual, here are some cookies decorated with royal icing transfers.
Let’s talk transfer surfaces
Why is the surface you pipe on so important? Well, the surface can make or break your overall results when making transfers, so it’s a very important factor. Some allow transfers to dry faster, some impede drying altogether, some are easier to work with, etc.
The four materials I’ll be putting to the test today are as follows:
- Parchment paper
- Wax Paper
- Polypropylene sheet protectors, specifically, THESE ones.
- Polypropylene cookie bags, specifically, THESE ones.
I’m using standard parchment paper and wax papers for these comparisons. And I’ve linked the specific sheet protectors above that we’ll be testing, as well as the poly bags. I don’t want to have to cut my transfer sheets, so I’m using food-safe poly bags that perfectly fit my standard transfer sheets for convenience.
There are a couple surface materials I’m intentionally not including because I don’t recommend them. Acetate sheets and laminated sheets are two surfaces that can extend or impede drying altogether. When cookiers have transfers that never dry, it can commonly be due to using one of these surfaces. The thickness simply doesn’t allow the icing to dry. So for that reason, they have automatically been excluded.
What surface do I commonly use?
Historically, I’ve used polypropylene sheet protectors for making all my transfers and they work beautifully for this. So why am I considering a change? While the sheet protectors have work great, and polypropylene is a food-safe material, they aren’t labeled as food-safe since they aren’t marketed for that purpose. This throws some bakers for a loop since using food-safe materials is always important. And I’m always open to better options, hence, our icing research.
What factors are we comparing?
There are several factors that are important and that we’ll compare our difference surfaces against. First, the surface should be convenient and easy for cookiers to use. Time is money and bakers are busy. Second, ease of use. Similar to convenience, but more specific to clarity of our surface and ease of piping. Third, dry times. Again, cookiers are busy and don’t have days to wait for transfers to dry. I always use my dehydrator to dry my transfers since it greatly speeds up the process. You certainly can air dry or use a fan to help dry your icing. You’ll see the difference in an air-dried transfer compared to one dried in the dehydrator in my video as well. The difference is shocking. And lastly, overall transfer results…which I would say it the most important factor.
And since I also get this question a lot, I’ll address it here…yes, you can put these surfaces into your dehydrator. Remember, a dehydrator is not like an oven, so nothing is cooking or melting. They don’t even hardly get warm to the touch from the dehydrator airflow.
See the comparison video
I don’t want to spoil the results before you can see our icing research in action for yourself. You’ll find the full video HERE or by clicking on the transfer image below. Enjoy this video and then come back to read takeaways.

Was that video helpful? Did you learn something new?
I hope your answer is “Yes!” to both of those questions. Doing the legwork for you so you can make informed decisions for your baking and decorating is exactly what I’m here for. I use what works best for me and you can decide what works best for you! On that note, I’m officially converting to THESE for making my transfers! This surface is convenient, cost-effective, easy to use, dry time is great and gives me beautiful results for my cookies.
Looking for royal icing transfers?
You’ve come to the right place, Bestie! You can always find a comprehensive free royal icing transfer sheet collection HERE! There’s no catch, these are completely free, just click on the design you want and the pdf file will open up. The free collection gets updated regularly with new and different designs. All kinds of different themes, seasons and holidays.
I also create and publish free new royal icing transfer designs every week and are available in my newsletter a couple weeks before they are available on the website. It’s a Bestie perk! So, if you want to be the first to get your hands on the latest designs as they get released, subscribe to receive my weekly newsletter below.
And finally, if you want to have your own giant collection of royal icing transfer sheets at your fingertips, I have 3 royal icing transfer books available for instant digital download. Each book includes hundreds of royal icing transfer sheets which makes them the best value you’ll find. You can find those digital download books HERE.
Need more help?
I hope this post has been helpful! But if you need any more help or want to share your work, you’ll find me and thousands of other Besties HERE! That’s where we hang out, talk all things baking, celebrate delicious and beautiful treats and laugh at our fails.
And here is where you can subscribe to receive my weekly newsletter to receive all the new transfer sheets as they are released! Many Besties call this their favorite email of the week, so I hope you love it too! Happy Baking, Bestie!
I love your newsletter and the group on Facebook has helped me immensely. I do not sell my cookies-make for family and friends, church, and various non-profit agencies I support. After watching the video, I can definitely see the difference a dehydrator makes. I am 72 and on a fixed income so I cannot afford an expensive high-end dehydrator. Is there one you recommend for someone like me? I totally trust your judgment and appreciate your opinion. Thank-you.