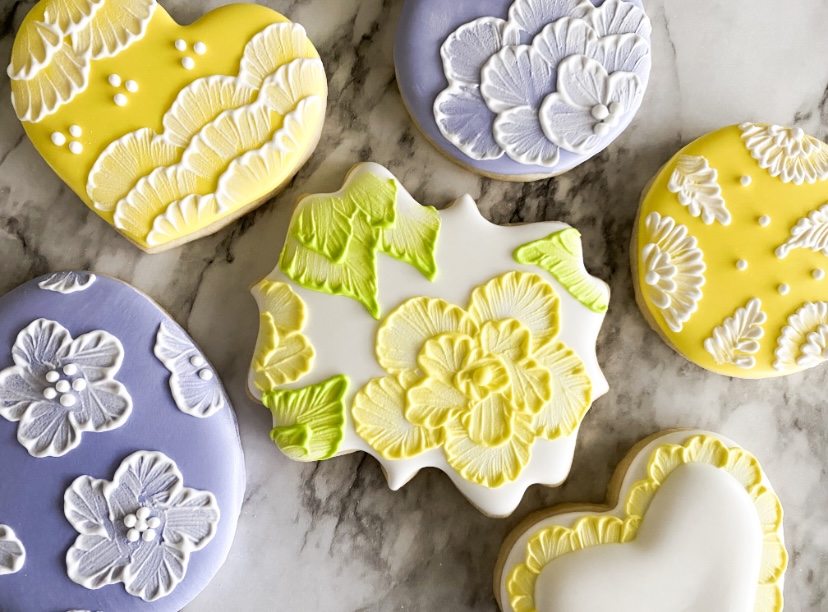
Hey Besties! I’ve heard your requests for a tutorial on the brush embroidery technique and I’m excited to deliver! This technique is one of my favorites in cookie decorating! Not only does it create stunning designs, but it is easier than it looks. This technique is actually very forgiving since it does not require great precision. Your brush strokes create the artwork, which results in delicate, beautiful designs. And there truly are endless design options; you are only limited by your own creativity! We’ll cover the very few tools you need, the consistency that works best, design options and of course, a video demonstration. Let’s go!
Royal Icing Brush Embroidery 101
What Do I need?
One of the things I love most about brush embroidery is that you hardly need anything for this technique! Most of you will already have everything you need to start! All you really need is a decent brush set, dedicated solely for cookies, of course! I use several different brushes from different sets for this technique, depending on the look I’m after. And if you’re looking for a brush set, THIS is one I recommend! It has a variety of different small and medium-sized brushes, which work wonderfully for brush embroidery. I also personally use several brushes from THIS other set on a regular basis in my cookie decorating. Brushes come in so handy in cookie decorating in so many ways, you’ll be surprised how often you’re reaching for them. You can also find all of my product recommendations in my shop HERE!
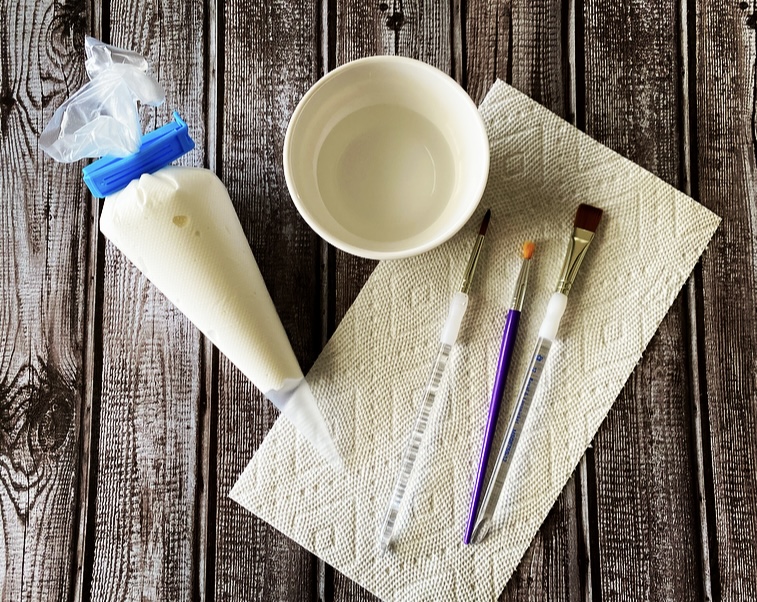
In addition to brushes, you’ll just need:
- Small bowl of water
- Paper towel for dabbing your brushes
- Royal icing
- Dried flooded cookies
Your Canvas
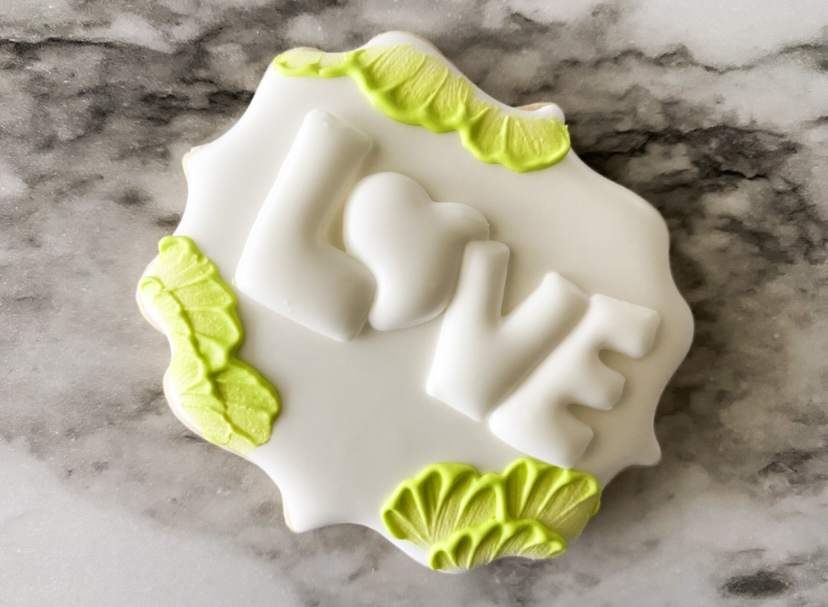
I’m almost always using this technique on top of dried flood cookies, which provide a really smooth canvas for your strokes. Although sometimes, I do use this technique on the edge of a bare cookie to create a lacey border. But you’ll find your strokes are much nicer and smoother on top of dried icing. It all depends on the design and look you’re after!
Royal Icing Consistency
For your royal icing consistency, you’ll see the consistency I use in the demo video, which is similar to a toothpaste-like consistency. Confession: I dislike using that term since I personally have never seen a bowl of toothpaste so I struggle with knowing how it would behave in a bowl. But this consistency doesn’t have a timing method comparison since it is too thick to ever settle on its own. And that is exactly what you want – a consistency that gives you the definition in the brush strokes, that is not going to run together. If your icing is too thin, you won’t see those beautiful brush strokes. And it it’s too thick, you won’t even really get brush strokes at all. Like with any technique, it may require you to play a little bit to perfectly nail that consistency. I suggest trying to match the consistency I show in the tutorial and if yours seems too thin or thick once you start, just adjust with either a tad more water or a little more powdered sugar.
A Word About Your Royal Icing
Something cookiers can commonly forget is that everyone’s royal icing is slightly different. The million-dollar question in decorating is always, “What consistency do you use?” And decorating would be so much easier if we were all using the exact same icing that behaved the same way, right? You may use a different recipe or different ingredients, which may make your icing behave slightly different than others. So, try not to get frustrated if your icing requires a slightly different consistency for a technique. And if you want to use the same recipe I use for all of our decorating, you’ll find exactly how we make ours HERE. This is something I like to remind cookiers of since while we may all be using royal icing, we’re not all using the same royal icing.
Brush Embroidery Technique
As you’ll see in the tutorial video, there are a couple different ways, or approaches, to how you add your icing to your cookie for brush embroidery, depending on the look you’re after. And there are several ways to change the design based on the brush you’re using. Here are my top tips for the brush embroidery technique:
- You will know very quickly after you start, if you’re consistency is delivering the look you want. If you’re not happy with how your strokes are defined, stop and either thin or thicken slightly and then continue. As you know, small adjustments can make a world of difference in decorating.
- Your brush should be just hardly moist, not wet. Honestly, I dab my brush in water and dab it off well on a paper towel to the point it’s almost dry. The moisture from the royal icing itself will help work your magic in your strokes.
- When making your strokes, you’re not pulling the entire line or dot of icing. Lay your brush down in the middle of the line or dot and pull. Sometimes you’ll even want to push your icing line a little bit with your brush, before pulling the stroke.
- Work in small sections so your royal icing doesn’t start to dry before you can make your brush strokes.
- When planning your design, consider which direction you’ll be pulling the icing to ensure you’re making your strokes in the direction you want.
- Brush embroidery is very forgiving, so you can repeat a brush stroke or change the angle while your icing is still wet.
- I highly recommend taking the time to just play with different brushes and designs on flooded cookies to get practice and determine what you love best. This is the very best way to learn!
Brush Embroidery Tutorial Video
A video is worth a thousand words, right? I totally get it and I hope you find this helpful! But I also hope you took the time to review the tips above as they truly will make a difference for you. You can find the demo video HERE or by clicking on the photo below. Enjoy!
Ready To Start?
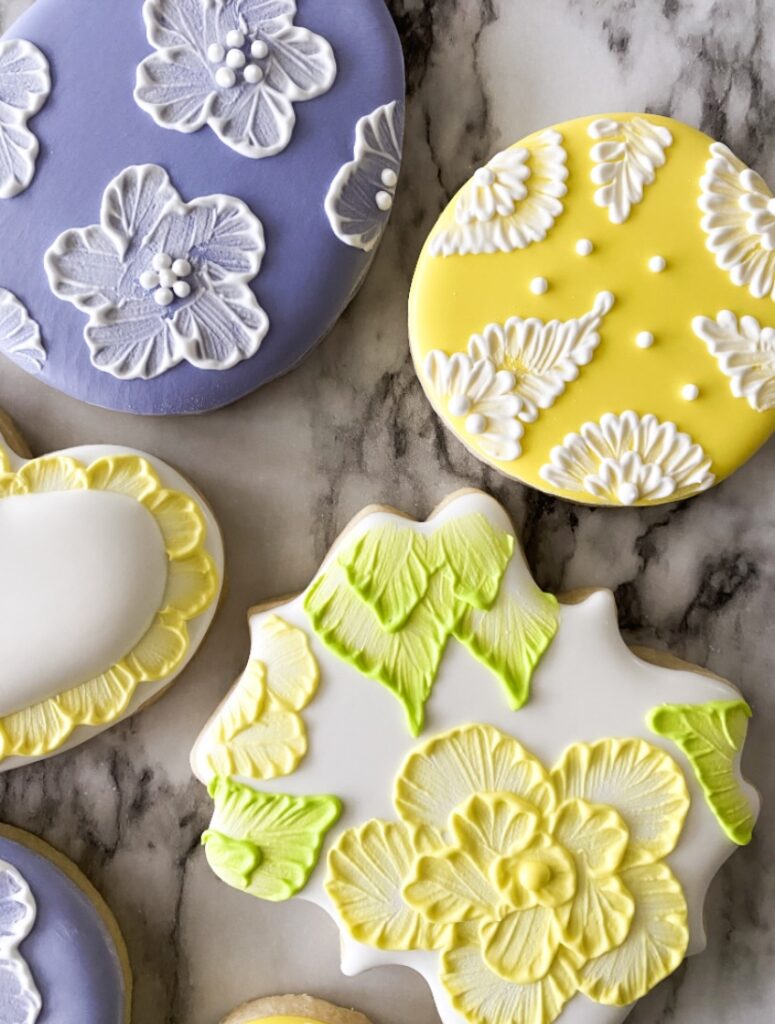
I hope these tips and tutorial video have inspired you to give brush embroidery a try! It’s a technique that I’m confident any cookie decorator can successfully do. And honestly, I don’t think we see it often enough! It really lends the more artistic side of cookie decorating, which I love. Embroidery designs are perfect year-round, but I find myself using it more in the spring, summer and for wedding cookies. Really any time you want a pretty, delicate design!
If you found this helpful, I hope you’ll share it with your fellow cookier friends! And if you’re not already receiving our weekly newsletter, this is your chance! Never miss out on a new recipe, technique, tutorial, product recommendation and free printables! Happy baking, Besties!