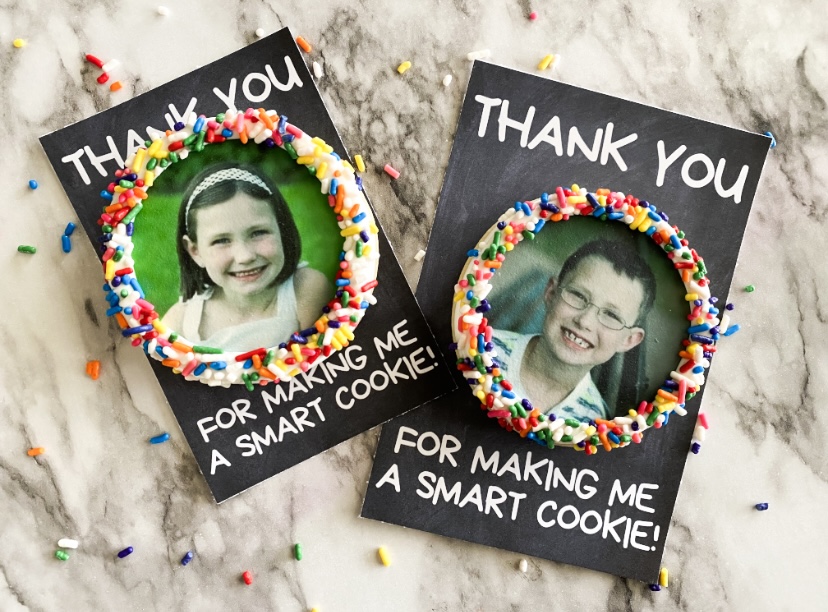
Hey Besties! Teacher appreciation week is right around the corner, although, teachers should be celebrated year-round! This year, I wanted to create something simple, yet adorable, that I knew teachers and parents would love. And what is cuter than an edible version of your smart cookie paired with a cute cookie card?! Nothing is cuter, that is the answer! 😉 And these are seriously so quick and easy to make! Let’s jump right in to see exactly how to make these cookies! And you can download your free cookie cards while you’re here too!
Do You Have The Ability To Print Photos?
Since this cookie design includes a photo, you have a few options to make these! If you have a direct-to-cookie printer, like Eddie, you can easily print these images to your cookies! And if you already have an edible image printer at home, you can use that to easily and affordably print these images. We’ll go through those steps below. And your last option is to purchase edible images from a third party, but that gets very costly and isn’t nearly as convenient. Which leads me to my last suggestion…you may want to consider an edible image printing setup. Many cookiers don’t even realize how affordable it is to print your own images and are shocked to learn this.
Bestie, for less than $200, you can be printing all your own edible images from home. That includes your printer, ink and icing sheets! You can print hundreds of images with one set of edible ink cartridges and icing sheets. We usually print images that are 2.5-4″ in size, so it only costs us about 25 cents to print each image. Compare that to the paying $12-$15 per printed sheet of images from a third party, you can be saving a boatload. Apologies to any of those third-party edible image sellers, but this Bestie is here to help fellow home bakers save that dough!
The Edible Printer, Paper & Ink We Use & Love
I did a ridiculous amount of research and testing when I was creating our edible image printing setup, with a few key criteria in mind. First, it needed to consistency produce vivid, beautiful edible images. Second, it had to be easy to use. I don’t have the best history with new technology. 😬 And lastly, it needed to be really affordable. While I would’ve loved to get an amazing Eddie, the $3k+ price tag was not something we were interested in at the time. And I know many home bakers are in that same boat. But I did want to be able to create and offer photo and logo options for our cookies.
If you ask my husband, he’ll tell you I research things to death, but I’m happy to report that all that time and energy paid off! We LOVE our printer and the images it produces for our cookies. I went through a few different kinds of edible ink to find the one that produced the best results, and we LOVE it.
We have not ever had one clog or issue with this setup; it has worked perfectly for us every time we print. And we don’t even do anything to maintain it. Some cookiers print off a regular sheet of paper once a week if they know they won’t be printing any edible sheets, just to keep the ink cartridges fresh. We have never done that and have gone as long as 2 months without printing, and it still printed perfectly the next time. It’s been a super reliable and high-quality workhorse!
I do want to note that you can’t convert a printer that has previously printed regular ink. For edible image printing, you can only use a new printer and dedicate it to edible ink.
Edible Image Printer
You’ll find the printer we love HERE!

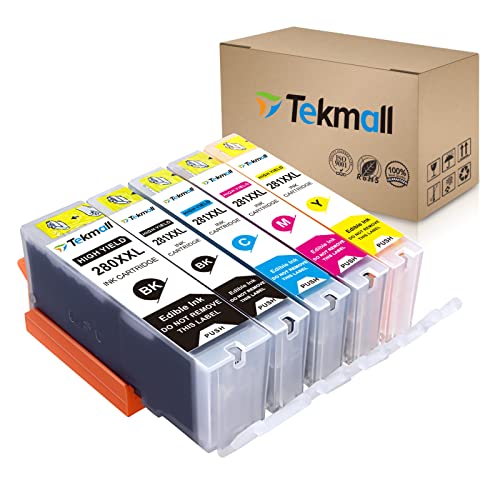
Edible Ink
The edible ink we use, and love can be found HERE!
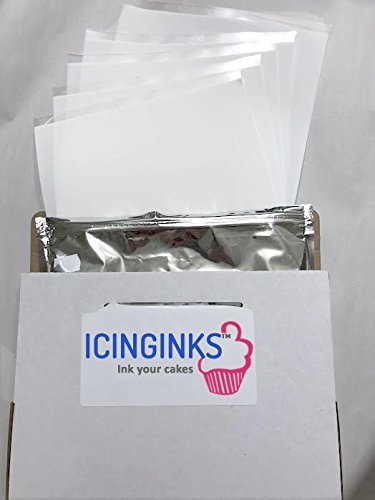
Edible Icing Sheets
We like THESE premium icing sheets, and they smell heavenly!!
Making These Teacher Appreciation Cookies!
To make these adorable cookies, I started with simple round cookies and for this design style, I flooded them white and let that completely dry. PS: If you need any assistance with flooding cookies, THIS will help! When I’m making our Polaroid-style cookies, I attach my image to a thin layer of scraped royal icing, like in THIS tutorial. But for logo cookies and today’s design, I prefer adding my image to dry icing. Honestly, cookiers add their images several different ways and it’s really just personal preference.
Formating Edible Images in Canva
While my flood dries, I sized my images in Canva and printed my edible images. I find Canva to be super user friendly for this and can easily size my images exactly how I want them. In today’s example, I made 3″ round cookies and want my images to be 2.5″. Here are some simple steps of how I format my images in Canva. Note I prefer to do this on my desktop and not in the app.
- Select “Create a Design”
- Select the “Flyer” option which is a portrait 8.5 x 11″ sheet
- Select Elements (left hand side)
- Search “Frames”
- Select whichever shape you want your edible image to be – click or drag and drop onto your sheet
- Click the corner of your frame to make it smaller or larger. Exact dimensions will appear.
- Select “Upload” and upload your image files
- Drag and drop your images into each frame on your design sheet
- You can click on each to move the image around in the frame and format exactly how you want it.
- Once your sheet is complete with all of your images, click “Share”, then “Download”. I select the file type to be PDF, then download.
Sweet tip: You now have a Canva template you can use over and over again with new images! You don’t have to create a new design sheet every time!
Printing Your Edible Images
We now have an edible image file ready to print! Here is a snapshot of my PC printing settings I have saved for printing edible images. We have not needed to make any other manual color adjustments. You can also check the box at the bottom that says “Always Print with Current Settings” and then these will be defaulted for you.

Creating Our Smart Cookies
At this point, we have flooded cookies and edible images printed. For these 2.5″ circle images, we use THIS hole punch which works beautifully. But you can also use kitchen shears or even your Cricut to cut out your images.
For attaching our images, we used to use royal icing, but when making this style, we prefer a 2:1 mixture of corn syrup and Everclear. Or any other high proof alcohol you have. This creates a great glue that we literally paint onto the back of our image and attach to our cookie. When using royal icing on dried flood, we found it could sometimes get lumpy, but this mixture is super thin and effective. Cookies then look like this!

I always let my edible images set for at least a couple hours or for a short time in a dehydrator. Then, I used a stiffer consistency of royal icing to add a border. The stiff icing will allow you to dip your icing into your choice of sprinkles without the icing running all over. Then use your scribe if you need to perfect any sprinkle placement. And now we have these cuties!

Teacher Appreciation Cookie Cards
To perfectly present these smart cookies, first we’ll wait for these to completely dry. Then we individually bag our cookies before attaching to the cookie cards with double-sided tape or a glue dot. THESE are the bags we use for all of our cookies! They are the best since they don’t stick to the icing like so many others do! And finally, here are our finished teacher appreciation cookies decorated with gratitude!

And here is a photo of them bagged up and ready to share!

Teacher Appreciation Cookie Card Download
I made these cookies cards in both 4 x 6″ and 3.5 x 5″ card sizes for you! Use what you like best and what looks best for the size of cookies you make! I hope you can put these to good use to recognize teachers in your community!
By the way, we print our cookie cards at home on cardstock, or you can have them printed locally, like Staples.
Parents and teachers LOVE these cookies and it’s a super thoughtful gift from a student. If you’re a bakery biz owner, show your customers that you can make designs like these and watch the orders flood in! I hope this post all about these adorable teacher appreciation cookies was helpful for you!
If this was helpful, make sure you’ve subscribed to receive our weekly newsletter! Never miss out on a new recipe, technique, tutorial, product recommendations and more free printables! Happy Baking, Besties!