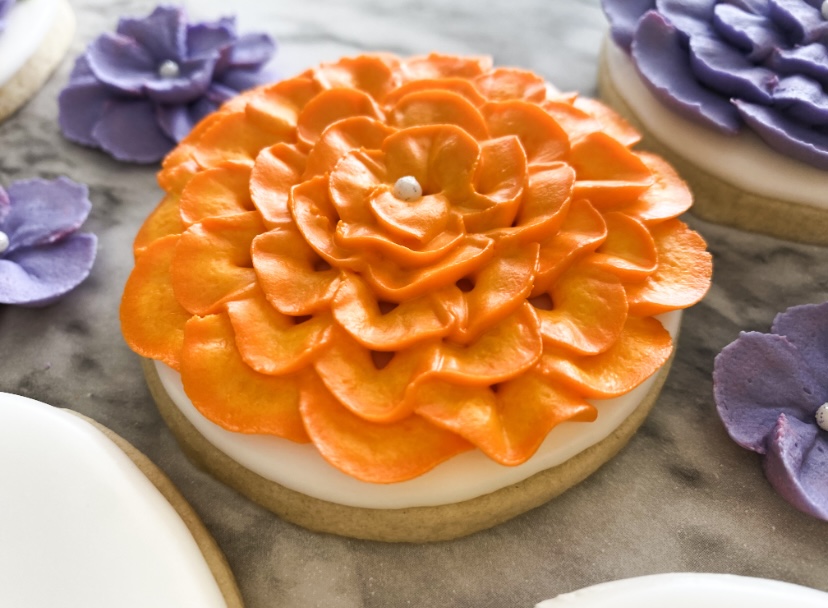
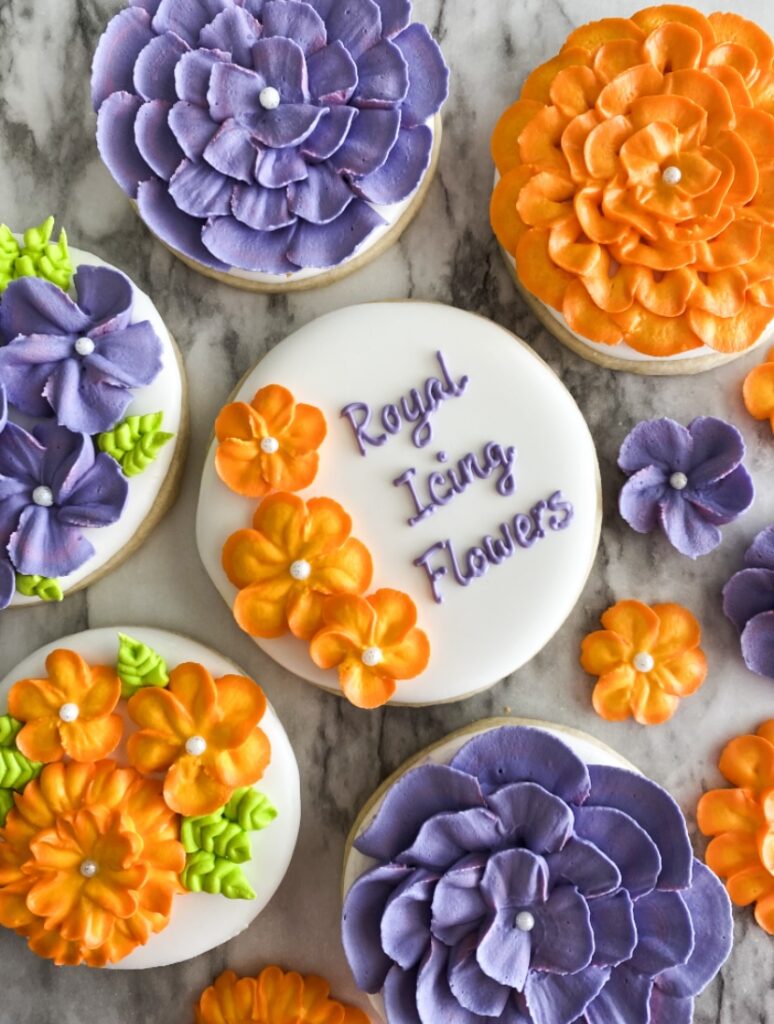
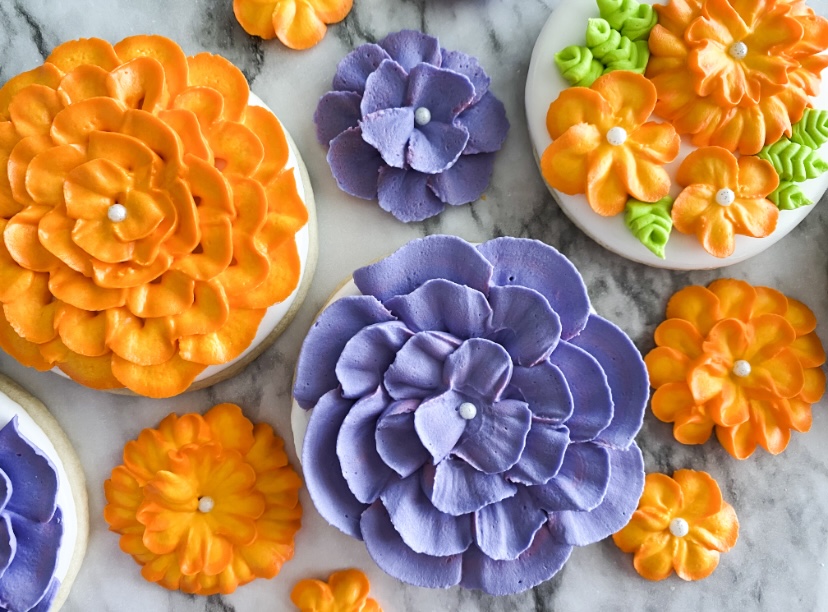
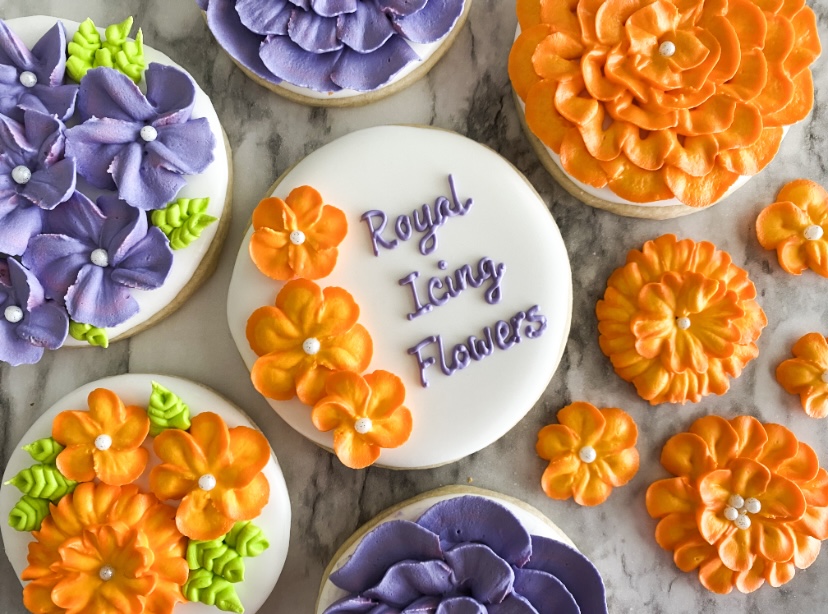
Hey Besties! I recently shared the first in our new royal icing flowers series of tutorials and I said more flowers would be coming! Well today, we’re playing with petals and creating more beautiful florals for your cookies! Listen, I know many of you really want to create stunning flowers but are scared to try! Bestie, you know I break things down as simple as possible to ensure you will be successful. I highly encourage you to jump in and try. I think you’ll be pleasantly surprised at how simple, forgiving and fun flowers can be! Honestly, piping a beautiful flower takes a fraction of the time most of our other designs take. And are SO impressive to look at. You can do this, and we’ll do it together! Welcome to your next royal icing flowers tutorial!
Royal Icing Roses 101
Last week, I published the first in this series, which you can find HERE. In this first tutorial, we covered the fundamentals of roses, including 3 different types. And y’all, I’ve already been receiving photos and messages from fellow home bakers who are having great success with their roses! So if roses are a flower you want to master, I highly recommend this tutorial, which includes a rosette practice sheet and demo video, of course!
Our Royal Icing & Flower Consistency
You may already have a royal icing recipe you love! But if you’re looking for a fabulous recipe or if your current recipe is giving you any grief, you can find ours HERE. This is the recipe we use for all of our royal icing decorating, and we get glorious results without any of the headaches that commonly plague cookiers. Bestie, it’s ALL about HOW you make the icing.
For making royal icing flowers, you will need STIFF icing to perfectly capture your petals and delicate details. We make our royal icing as normal, then separate into smaller bowls for each color we want. You always want to color your icing and THEN thin or thicken to your desired consistencies. If you did it the other way around, the water in the coloring could thin your icing more. So always color and then achieve the consistency you want. Then we add powdered sugar a tablespoon at a time and hand mix to create the STIFF consistency we need. When the peaks in your icing don’t move anymore, you’re good!
It’s worth mentioning that I have heard one fellow baker this week that when she makes her icing STIFF, she really struggles to push it out of the decorating tip. The royal icing recipe we use, when made as directed, allows you to create a STIFF icing, but it is not difficult to pipe. If your stiff icing recipe is difficult to pipe, try the recipe and method we use to see if it gives you the feel and results you want. Again, it’s not so much about the short list of ingredients, but HOW they are put together.
Once you start piping your flowers, you’ll be able to tell very quickly if you have the best consistency. If your petals or details are pooling together at all, stop and go add more powdered sugar for a stiffer consistency. It’s not worth fighting your icing if it’s not the right consistency. You’re much better off correcting it and getting the results you want.
Royal Icing Flower Petal Tips
For today’s tutorial, we’re using petal tips 102 & 104, which are the same shape, but different sizes. In fact, petal tips 101-104 are all the same shape, but different sizes. So all of these flowers can be made with any of these tips. You can select your petal tip based on the size flower you want to make. These tips are all included in THIS decorating tip set, which we’ve had for years and has all the most common tips.
In today’s royal icing flower tutorial, we’ll pipe both using flower nails and directly onto flooded cookies. If you are interested in making royal icing flowers, I highly suggest having some flower nails handy. They are cheap and make a huge difference. Not every type of flower pipes easily directly onto cookies. So flower nails can be a fabulous way to practice and learn how to master florals without needing cookies. You can find flower nails HERE or locally at Michaels, Joann or Hobby Lobby.
Tips for Petal Flowers
Alright Besties, we focused on roses last week and now we’re adding more petal flowers today! Here are a few tips (no pun intended) that helped me and may help you! But keep in mind that I do not claim to be a master cookier florist at all!
- With petals flowers, you’ll usually be making smaller movements with your flower nail or cookie turntable. Unlike roses, where you’re really twirling it, petal flowers don’t really require much twirling. Which often makes these kinds of flowers easier for those newer to florals.
- With ALL royal icing florals, you’ll find that the tiniest angle change in your decorating tip can really give you a whole new look. I encourage those new to florals to play around with different angles so you can see all the variations you can make and what you love.
- Have a moist paintbrush (reserved for decorating) nearby when making florals. This works perfectly to clean up any tails or petals, much better than a scribe will. A scribe will commonly pierce stiff icing, whereas a moist brush will allow you to smooth, shape and work your petals beautifully.
- When first starting with florals, sit down with a bag of icing, a whole bunch of parchment squares and just practice. You’ll be amazed at the progress you can make in 1 hour, or even 30 minutes, of just practicing.
- Remember, that even in nature, not every flower is perfect and symmetrical! In fact, your flowers will look more life-like if they aren’t perfect! I know many of you are perfectionists, but with flowers, you want them to look natural and not machine-made.

Royal Icing Flower Tutorial
Alright besties, if a picture is worth a thousand words, what is a video worth? Like a million?! In this tutorial video, you’ll see the exact consistency we use, how I fill my bag, and exactly how I make blossoms and other petal and ruffle flowers. I hope this video, along with all the guidance above, is helpful to you in growing your royal icing garden this spring! I can’t wait to see your flowers! You can find the video HERE or by clicking on the pretty florals picture below. Happy decorating!

And you guessed it, there are more types of flowers and also greenery coming in new tutorials soon! I’m trying to serve these tutorials to you in manageable doses so you can practice, perfect and then move onto the next! Make sure you’ve subscribed to receive our weekly newsletter, so you don’t miss out on the next in the series! Happy Baking, Besties!


Good morning and happy Sabbath! I am Charlie, a 77 year old retired nurse. I am trying my best to do decent looking cookies. And I REALLY want to attempt some flowers. But I am so afraid I will not do it right and then I will give up. But you make it look so easy and I really do appreciate what you are doing. I will give it a try and show you when I’m done so you can give me some pointers. God bless, and have a great day.
Charlie