Calling all aspiring cookie decorators! Today I am breaking down everything you need to know to learn how to decorate sugar cookies like the pros! Full transparency here! I have been in your shoes and remember having NO CLUE how these stunning cookies were decorated. Like, I couldn’t even wrap my mind around how they were made! I’ve been a baker my whole life but had spent many more years decorating cakes, cupcakes and cake pops amongst other things. Decorated sugar cookies intimidated me, mostly because I thought they required natural artistic ability…which I don’t feel I have, honestly. If you ask me to draw something, it’s going to be a stick person…I can’t draw to save my life.
But there is something important you need to know! Anyone can learn to make stunning decorated cookies, with the right guidance, tips, tools and practice! Seriously, once you understand the process, it’s not nearly as intimidating. And the best part is, I’m spilling the best tips and guidance to accelerate your success and have you well on your way to creating stunning cookies you will be proud of! A lot of the guidance I will share is captured in many different posts, but I am putting everything together here for you to serve as your ultimate guide on how to decorate sugar cookies! Bookmark it, save it, come back to it because this will save you so much time in the long run. I wish I had this when I started! 😜
Did We Just Become Besties?
If you haven’t been here before, please let me share a few things! This blog was started as a distraction for me while my son was battling Leukemia. I needed something uplifting but also wanted to be able to help others. Combining my love for baking and helping others, I became Your Baking Bestie, with a focus on celebrating and promoting home bakers.
The talent and passion in the home baking industry blows my mind and I love being a part of it. I love encouraging people to follow their passion, try new things, challenge themselves and then celebrate with them when they achieve what they didn’t think was possible. If you want to be inspired or hear amazing stories of home bakers who are living their dreams, check out our Featured Bakers. I would love to be a part of your journey and I hope you follow along so we can celebrate you too!
But enough about what we do here…let’s get into the decorating!
Where Do We Start? Cookie Recipes!
I know it can be super overwhelming at first, but we’re going to break this all down into bite-sized chunks to set you up for success!
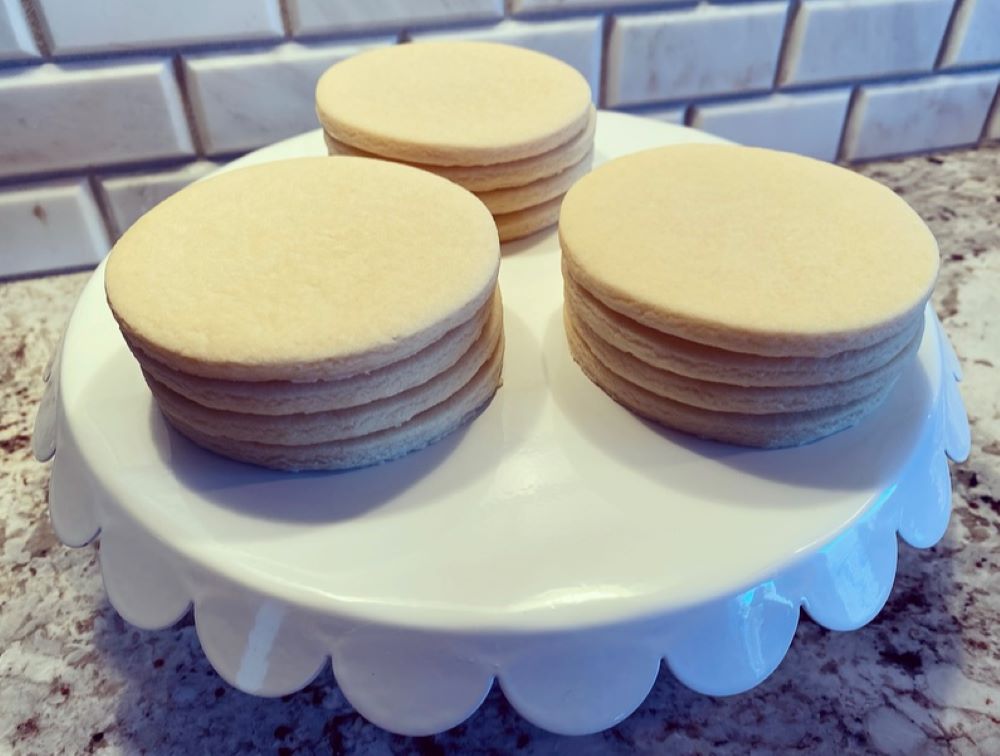
Before we can think about decorating, we need to start with a cookie recipe you LOVE! As you know, there are a million sugar cookie recipes out there and you’re welcome to experiment! But if you’re like me, you want a tried-and-true cookie recipe you can count on and not waste any time.
You can find my go-to vanilla sugar cookie recipe HERE. There are several things I LOVE about this recipe. First, it’s no-chill. Yes, you read that right, you don’t have to chill this dough at all, which is such a time saver! Secondly, it is no spread. Meaning, when you cut your cookies in all kinds of fun shapes and then bake them, they are going to come out of the oven in the exact same shape. Third, and most importantly, it’s delicious! I firmly believe cookies need to taste just as good as they look, and this recipe does not disappoint. Our customers, family and friends LOVE these cookies. When baked as directed, they are soft and chewy, but you can bake them longer if you prefer a crispy cookie.

Now I will tell you, as much as we LOVE our vanilla sugar cookie recipe, we also love making fun flavored cutout cookies too! If you ever want to try other flavors, such as chocolate, caramel, lemon, strawberry, chocolate mint and many more, you find our cutout cookie recipe collection HERE.
Bring On The Icing
Now that you’re set with your cookies, let’s talk about icing! I decorate all my cookies with royal icing, which is what most cookiers decorate with too. There is a small population of cookiers who prefer glaze which does not contain meringue powder. But I prefer royal icing for the bold colors, versatility and flavor with my cookies.
Something to know is that all royal icing recipes are essentially made from the same small group of ingredients. Meringue powder, water, vanilla extract, powdered sugar and corn syrup. Not every recipe includes corn syrup but I highly suggest it to give your icing a soft bite and nice shine. But while the key ingredients are the same, there are many different variations and methods people use to make it. You can find our go-to royal icing recipe HERE along with the exact method to make it. We use this recipe for every single set of cookies and firmly stand by it. While I commonly see other cookiers struggle with air bubbles, butter bleed and other issues, we never have those challenges and I attribute that to this recipe. It’s easy to make, easy to work with, has great flavor and helps us create beautiful cookies.

Meringue Powder
Something you should be aware of is that not all meringue powders are created equal. You’ll find that there are MANY different brands of meringue powder at different price points. Many cookiers start out using Wilton because it’s readily available at local stores. We wanted to see if there was truly a difference between Wilton and Genie’s Dream, which is the other most popular brand. If you’d like to see how these two brands stacked up against each other, you see the results in the showdown HERE! I only use Genie’s Dream and trust me, once you try it, you’ll never use anything else either. It results in significantly better colors, better shine and better flavor. It’s not the cheapest meringue powder but it’s also not the most expensive. You can order it HERE and a one-pound bag will be enough to decorate hundreds of cookies.
What Do I Need To Get STarted Decorating Cookies?
It’s easy to get overwhelmed or carried away when starting out, but here’s the deal, you don’t need much to get started! Once you know you love decorating cookies, there will be some bigger items you’ll definitely want to invest in as you grow your skills (projector, dehydrator, airbrush). But before you spend that money, start with just the essentials until you know you’re ready to build on your skills and up your game. Here is a short list of the true essentials I recommend for success.
Joseph Joseph Rolling Pin: Not gonna lie, I wouldn’t even attempt to make cutout cookies without this thing. It does the measuring for you, so all your cookies are the exact same thickness. It’s a must-have!
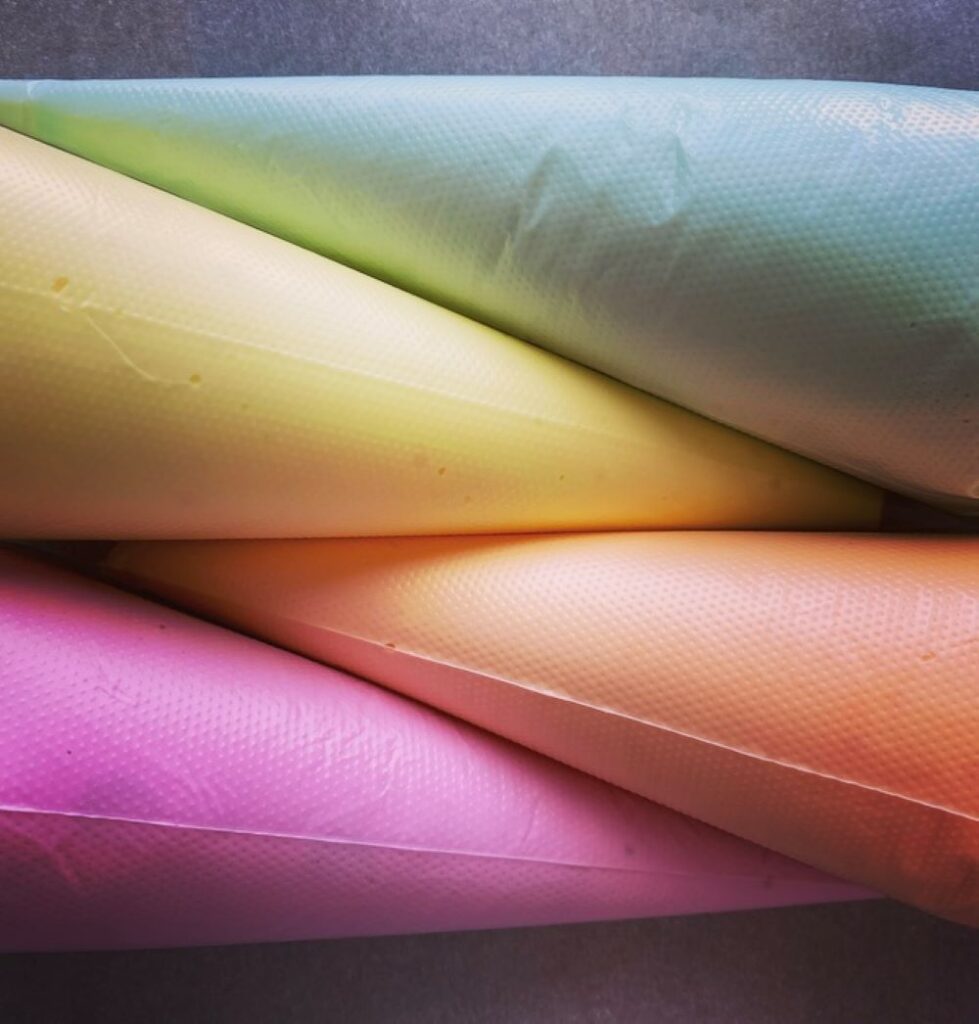
Tipless Decorating Bags: I love these bags, have never had one burst and always keep them in stock at our house. The majority of cookiers use tipless bags, which can actually be used with or without tips. You’ll find that using tipless bags saves a lot of time in clean up and gives you easy versatility. The only time I use tips is when I’m making flowers, in which case, I still use these bags! Bonus that these come with a scribe and little bag clips too!
Gel Colors: We’ve used several different brands of gel colors but ChefMaster have always given us the best results. I pretty much use ChefMaster gel colors exclusively and can make any color or shade I need. My second choice would be the Hobby Lobby brand of colors. AmeriColor is also very popular amongst cookiers, but I’m not a fan of the paste-like consistency and it’s much more expensive. I’ve never been able to justify paying so much more when I can achieve better results with ChefMaster or Hobby Lobby for much less.
Scribes: Your scribe is going to be your best friend and is a must-have in cookie decorating! You can buy fancy, cute ones (especially on Etsy), but for the sake of just getting started, these are cheap and effective! Note that if you order the recommended tipless bags, they do come with one scribe.
This is the bare minimum to get started decorating sugar cookies! I’m assuming you already have cookie sheets, parchment paper, cookie cutters and spatulas. If you need any recommendations on these items or others, we do have a more comprehensive list of recommendations for beginners HERE.
Royal Icing Consistencies
You have your cookie recipe, royal icing recipe and the bare essentials to jump in! The first thing you’re going to need to learn is about royal icing consistencies. You will quickly learn that this is arguably the hardest part of this whole cookie game! But don’t worry, you’ll catch on quickly and will learn so much with every set of cookies you make!
A common misconception when starting out is that there are different royal icing recipes for flooding, piping, etc. When in fact, all you need is your one icing recipe; you will use that to make all the different consistencies you need. When you first make your royal icing, it’s going to be thick, or stiff. You will then divide out quantities you need, color and thin with water to create the different consistencies. Let me be clear, you should always fully make the royal icing, as directed, and then thin (or thicken) to the consistencies you need. You should not mix your royal icing to a thin, flood consistency and stop because that is the consistency you want. If you do this, you haven’t actually fully made royal icing and you will struggle with color bleed and other issues.
I have a whole post which goes more in-depth regarding royal icing consistencies. It is definitely worth the read and will expedite your learning. You can find the post all about consistencies HERE.

Best Place To Start Decorating COokies
You’ve made your cookies, you’ve made your icing, you have your essentials, you’ve read about consistencies! It’s time to start decorating! The first place to start is to practice outlining and flooding cookies. The easiest and best way to ensure your cookies have that seamless, smooth finish is to use the same consistency (and bag) for outlining and flooding. I personally use about a 12-15 second consistency for this, but each cookier has their own preference, as will you. I outline my cookie by letting the icing simply flow from the bag and then immediately flood it using mild pressure. This way, the outline will seamlessly blend in with the flood for one solid, smooth base. Practice, practice, practice!
This is also where your scribe comes into play. If you need to pull or push your icing around to perfect your outline or flood, that is what your scribe is for!
To get started decorating, our Flooding 101 is the best place to start! It goes in-depth on exactly how to flood, expedite your learning curve and includes demo video.
There is also an alternative technique to tradition flooding and that is dipping your cookies! For those that want iced cookies but don’t want to deal with a decorating bag, dipping is for you! We have a cookie dipping tutorial which includes everything you need to know and video!
Best Designs for Beginner Success
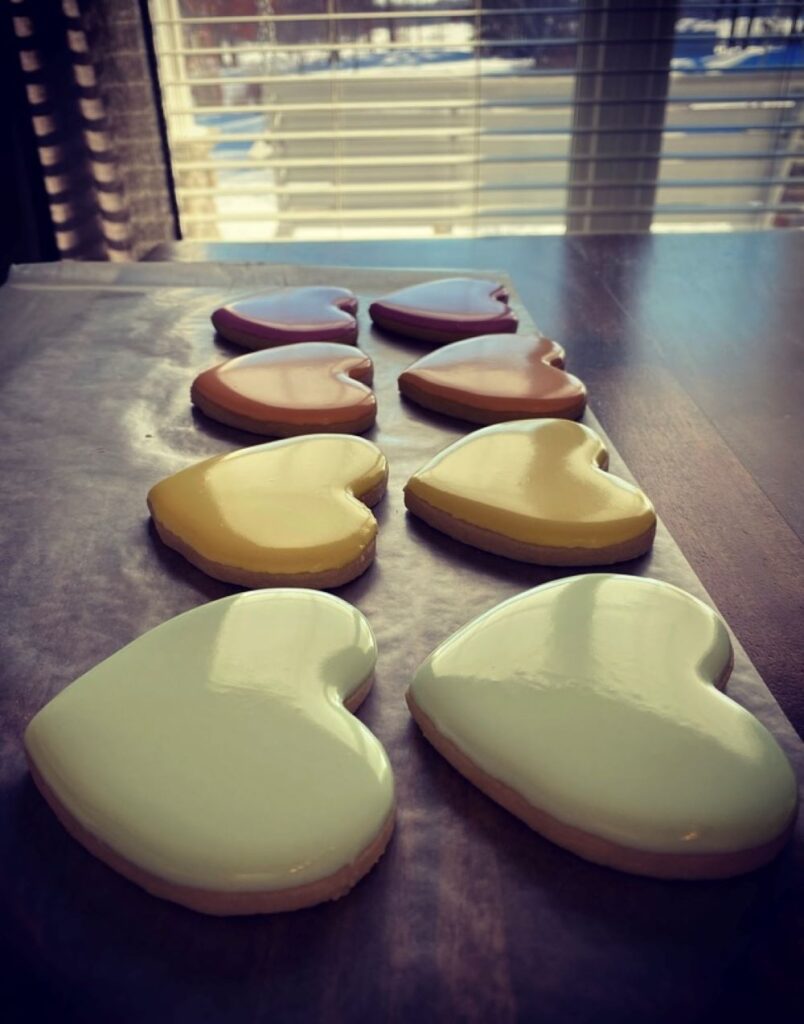
Once you’ve started having success in outlining and flooding your cookies, I encourage you to experiment with the wet-on-wet technique. This is a fun technique using all the same flood consistency but allows you to create some really cook, beautiful designs! I find when new decorators are able to create cool designs, it really gives you a confidence boost and momentum!
HERE, you will find a great post all about the wet-on-wet technique. It includes step-by-step instructions and using heart shapes are one of the best shapes to practice with!
Learning How To Decorate Sugar Cookies
If you’ve made it this far, you’re well on your way to creating amazing cookies! Bravo!! If you’ve mastered outlining and flooding and practiced wet-on-wet techniques, you’re ready to keep growing your skills!
From here, I encourage you to start practicing cookies with different sections of colors. For example, in these gnome cookies, you would want to outline and flood a section, wait for it to crust over, and then outline and flood a neighboring section, so they don’t blend together.

Once you’re comfortable flooding whole cookies, sections and wet-on-wet techniques, you’re ready to tackle using a piping consistency for additional details! Our Piping 101 tutorial is the next stop on your journey! From here, keep challenging yourself with growing your skills. It is at this point, you may want to start considering a projector, which will greatly open up your design options. You may find THIS post helpful regarding the projector I use and love.
At any time, you may want to consider using a dehydrator as well. It greatly helps speed up the decorating process by reducing drying time in between steps. It also greatly reduces the chance of craters and gives your icing a great shine. I use my dehydrator with every set and could not make cookies without it! THIS post shares more about using a dehydrator for cookie decorating.
Can’t Wait To See YOur Edible Artwork!
I could talk cookies for days, and I’m always here if you have any questions! I hope this post all about how to decorate sugar cookies is helpful to get you started on the right foot! Feel free to explore more posts for inspiration, techniques and troubleshooting! Remember, we all started at the same place. It takes practice, and trial and error but you will learn with every single set! I hope you connect to share your success; maybe you’ll be a future Featured Baker!
If you haven’t already, make sure you’ve subscribed to receive our weekly newsletter! Never miss out on a new recipe, technique, product recommendation, Featured Baker and free printables! Happy Baking, Besties!


Thank you for shattering all this valuable information! Do you make house calls?